


Your wedding stationery timeline begins well before your invitations go in the mail. Design, proofing, printing, addressing, and assembly all need a little room, especially when you’re choosing custom artwork or specialty print methods. Here’s when to begin each piece, from save the dates through wedding-day details.
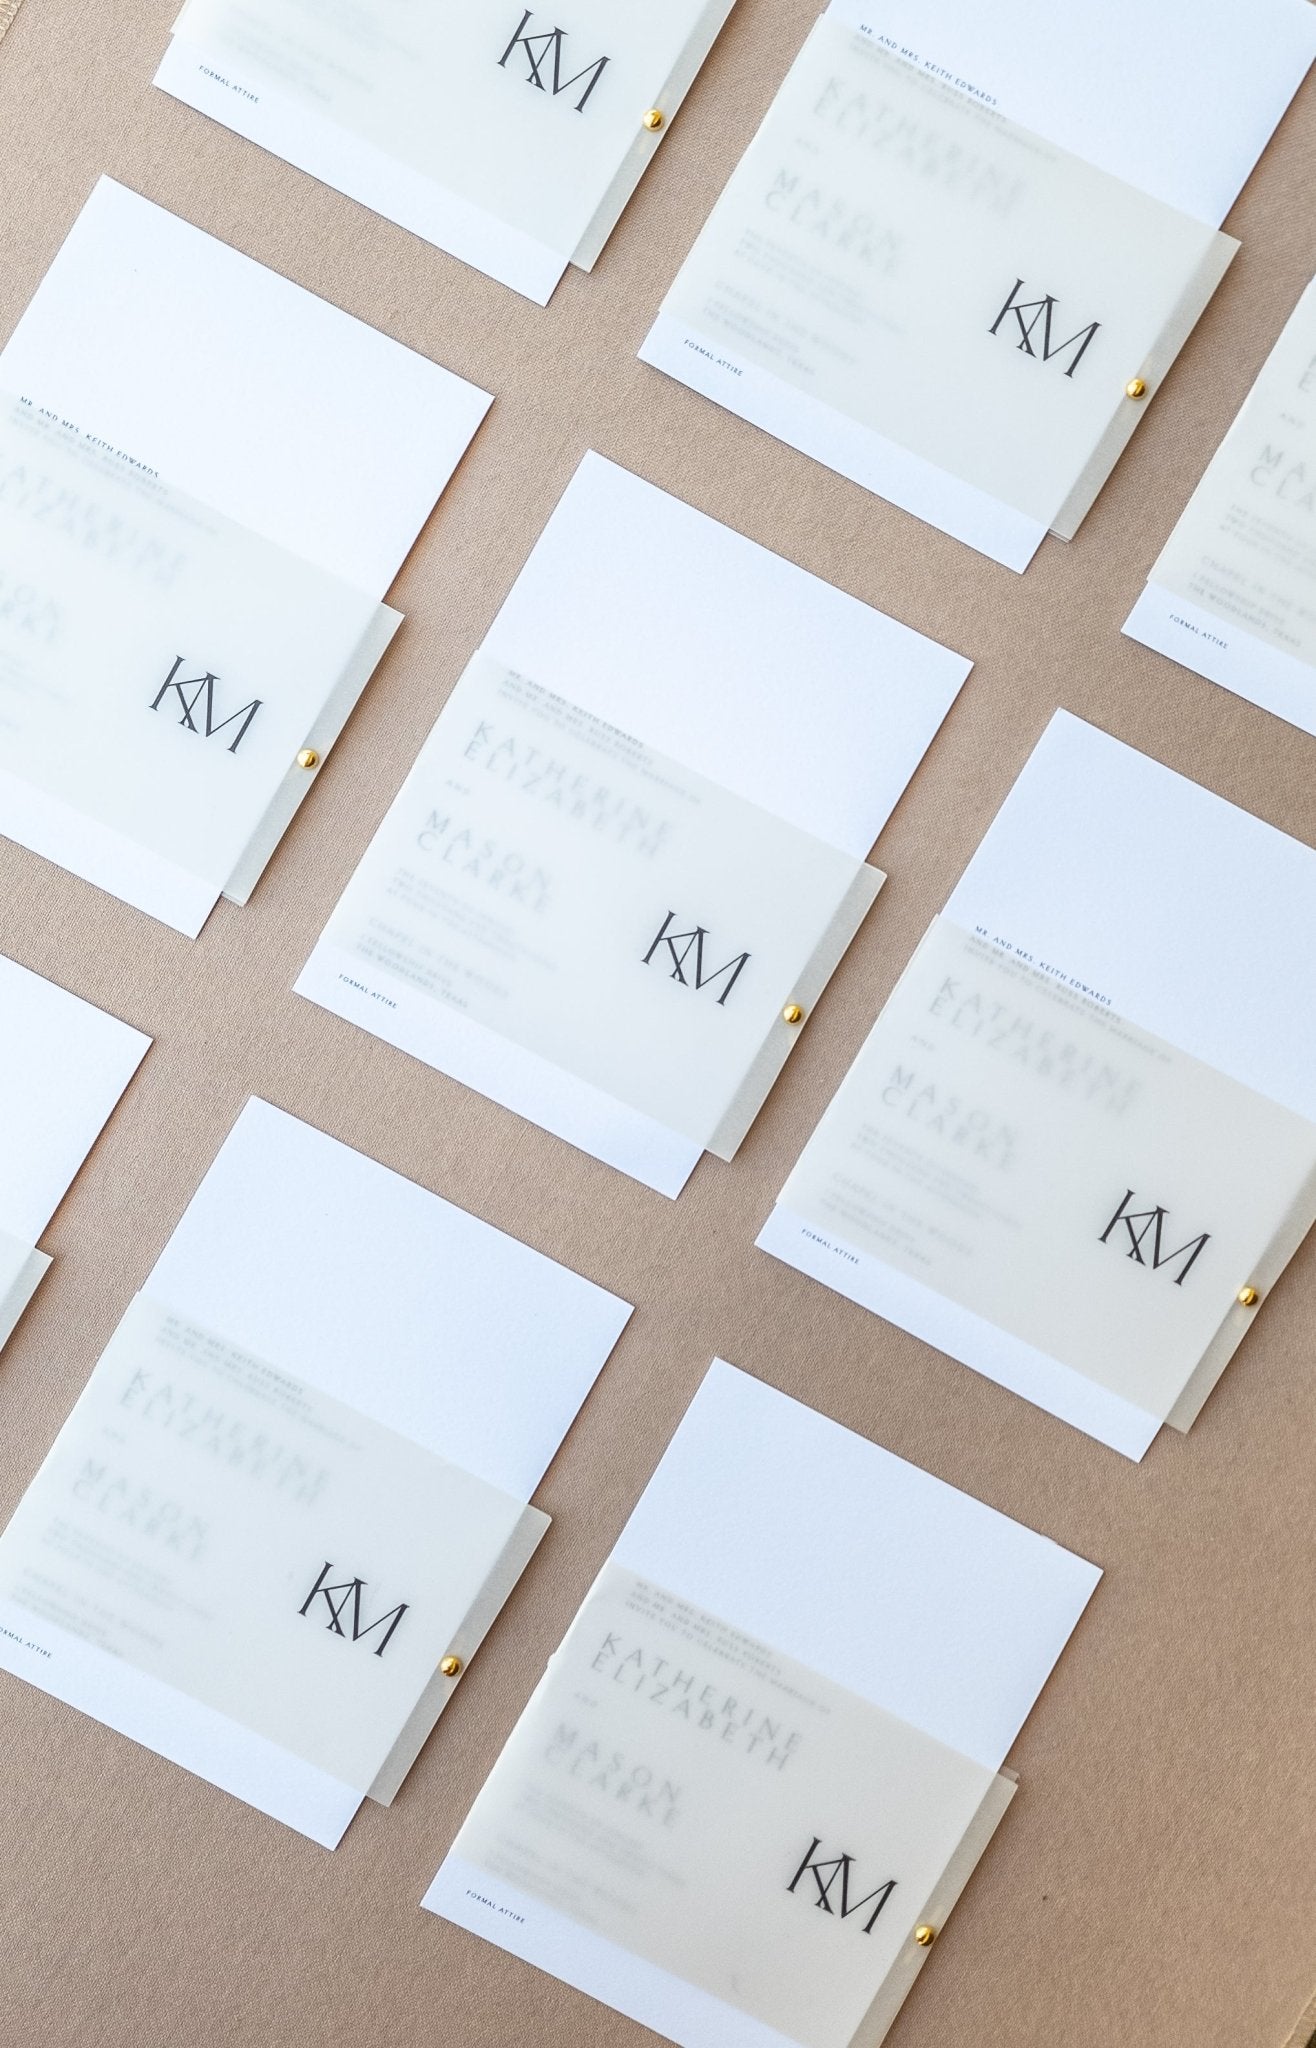
10–14 months before: Book your custom stationer
If you’re planning custom wedding invitations, this is a good time to reach out. Booking early gives us time to develop the design direction, explore papers and print methods, and create artwork that can carry through the rest of your wedding stationery.
For destination weddings, holiday weekends, or an especially detailed suite, we may begin earlier. Your mailing date helps us work backward to a realistic design and production schedule.
8–12 months before: Begin your save the dates
Once your date and venue are confirmed, we can begin designing your save the dates. Gather your guest list and mailing addresses while the design is underway so addressing doesn’t become a last-minute task.
For local weddings, plan to mail save the dates about 6–8 months before the wedding. For destination weddings, aim for 9–12 months, particularly when guests need to arrange flights and accommodations.
5–7 months before: Begin your invitation suite
This is the time to work through your invitation wording, supporting cards, RSVP format, envelopes, and finishing details. A letterpress suite with a custom liner and ribbon needs a different schedule from a digitally printed invitation, so we’ll plan around the pieces you’ve chosen.
Destination invitations may need to begin sooner to meet an earlier mailing date. For Ready-to-Wed invitations, allow time for personalization and proofing as well as printing, shipping, and assembly. Production begins after your final proof is approved.
Mail invitations 10–12 weeks before a local wedding
For local weddings, we recommend mailing your invitations 10–12 weeks before the celebration. For destination weddings, plan for 16–20 weeks so guests have more time to confirm travel arrangements.
Have your finished suites ready ahead of that date. Addressing, assembly, and postage should be part of the schedule, rather than tasks squeezed in after printing.
Choose your RSVP deadline with your planner or venue, allowing time to follow up with guests before final counts and seating details are due.
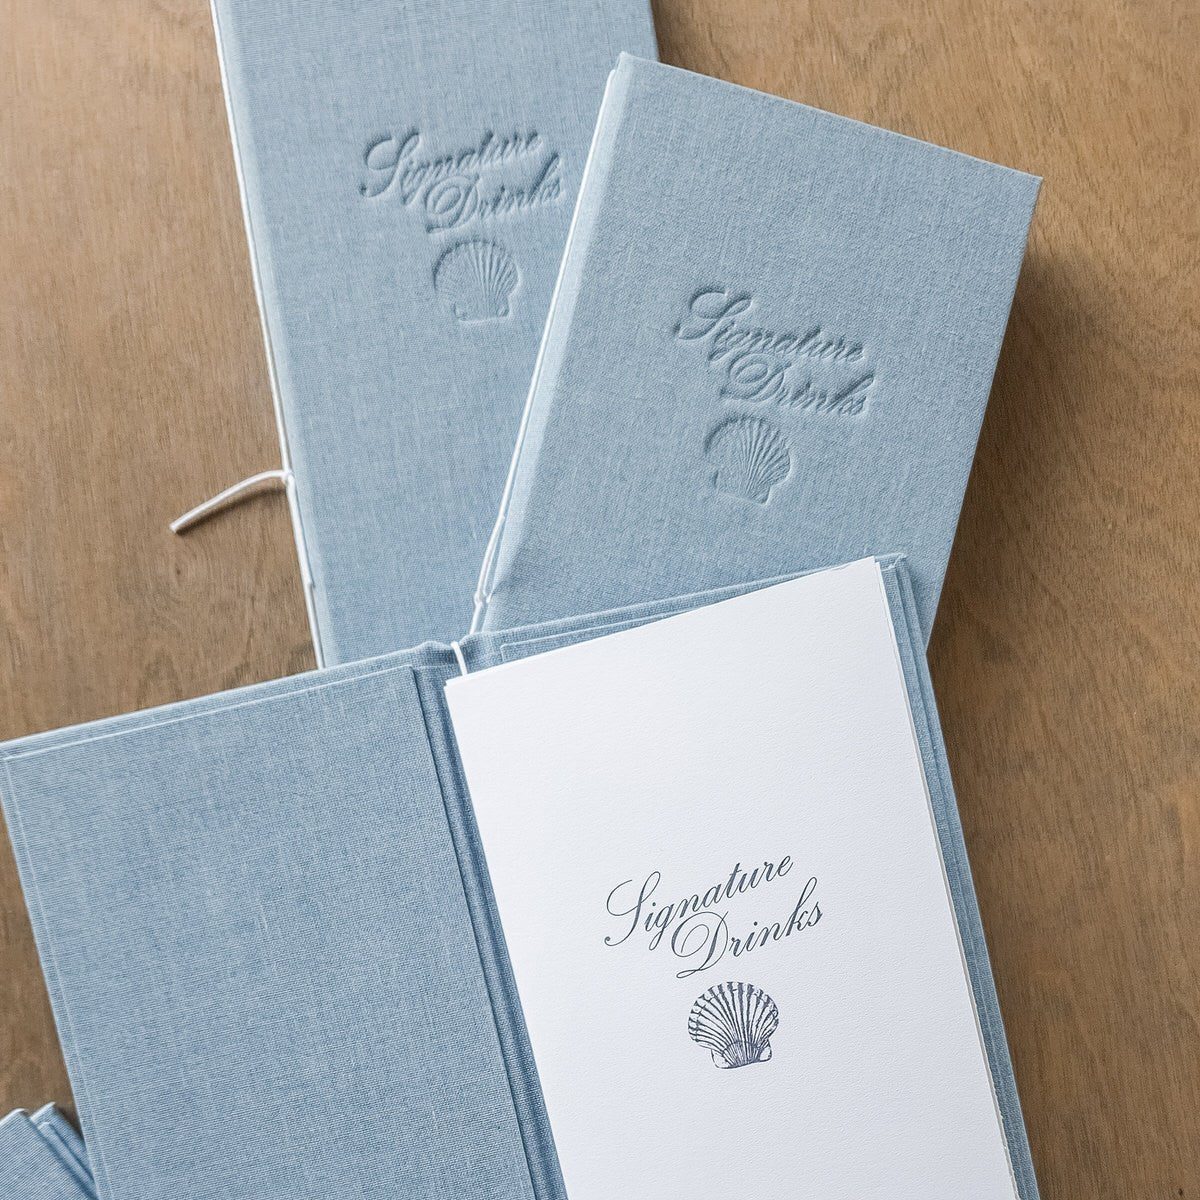
3–4 months before: Begin wedding-day details
Menus, programs, bar signs, seating charts, place cards, and other day-of pieces can begin before every RSVP is in. We can establish the design, materials, and quantities while the guest list is still taking shape.
Starting early also gives us time to coordinate your invitations with the details guests will see throughout the celebration. Large seating charts, custom fabrication, and specialty printing may need a longer lead time.
4–6 weeks before: Finalize guest-specific information
As RSVPs are confirmed, gather the final guest names, meal selections, table assignments, and any remaining wording. Check spelling carefully and share one complete, organized list for guest-specific pieces.
Your exact deadline will depend on the pieces being produced and when they need to arrive. We’ll set that date before design begins so you know what’s needed and when.
The final weeks: Production, delivery, and setup
Aim to have final production underway with enough time for shipping and setup. Some simpler pieces may fit within the last 2–3 weeks, while letterpress, foil, sculpted embossing, or custom-built details need earlier approval.
Confirm who will receive each piece and how it will be displayed. A seating chart, a box of place cards, and welcome-bag inserts may all have different delivery and setup needs.
A timeline for your wedding
These dates are a starting point. Your wedding location, print methods, and design details will shape the final schedule. If you’re ready to begin, get in touch with Lively House and we’ll talk through the pieces and timing for your celebration.
